
Recently I’m attending my college’s Computer Language and Programming Lesson, in which Visual Studio is required to use. However, for just a single file C program, Visual Studio resembles a steam engine used to crack nuts, not only wasting so many advanced features of it but also making the precedure much more complicated. But how to simplify it? I know you would say Visual Studio Code. That’s what I’m discussing here. In this blog, I’m going to introduce how to configure VSCode for an easy compiling and debugging process.
In fact, Microsoft has already given us an official tutorial on how to use Windows C++ in Visual Studio Code, yet if following it, you are bound to a fatal error. So did I.
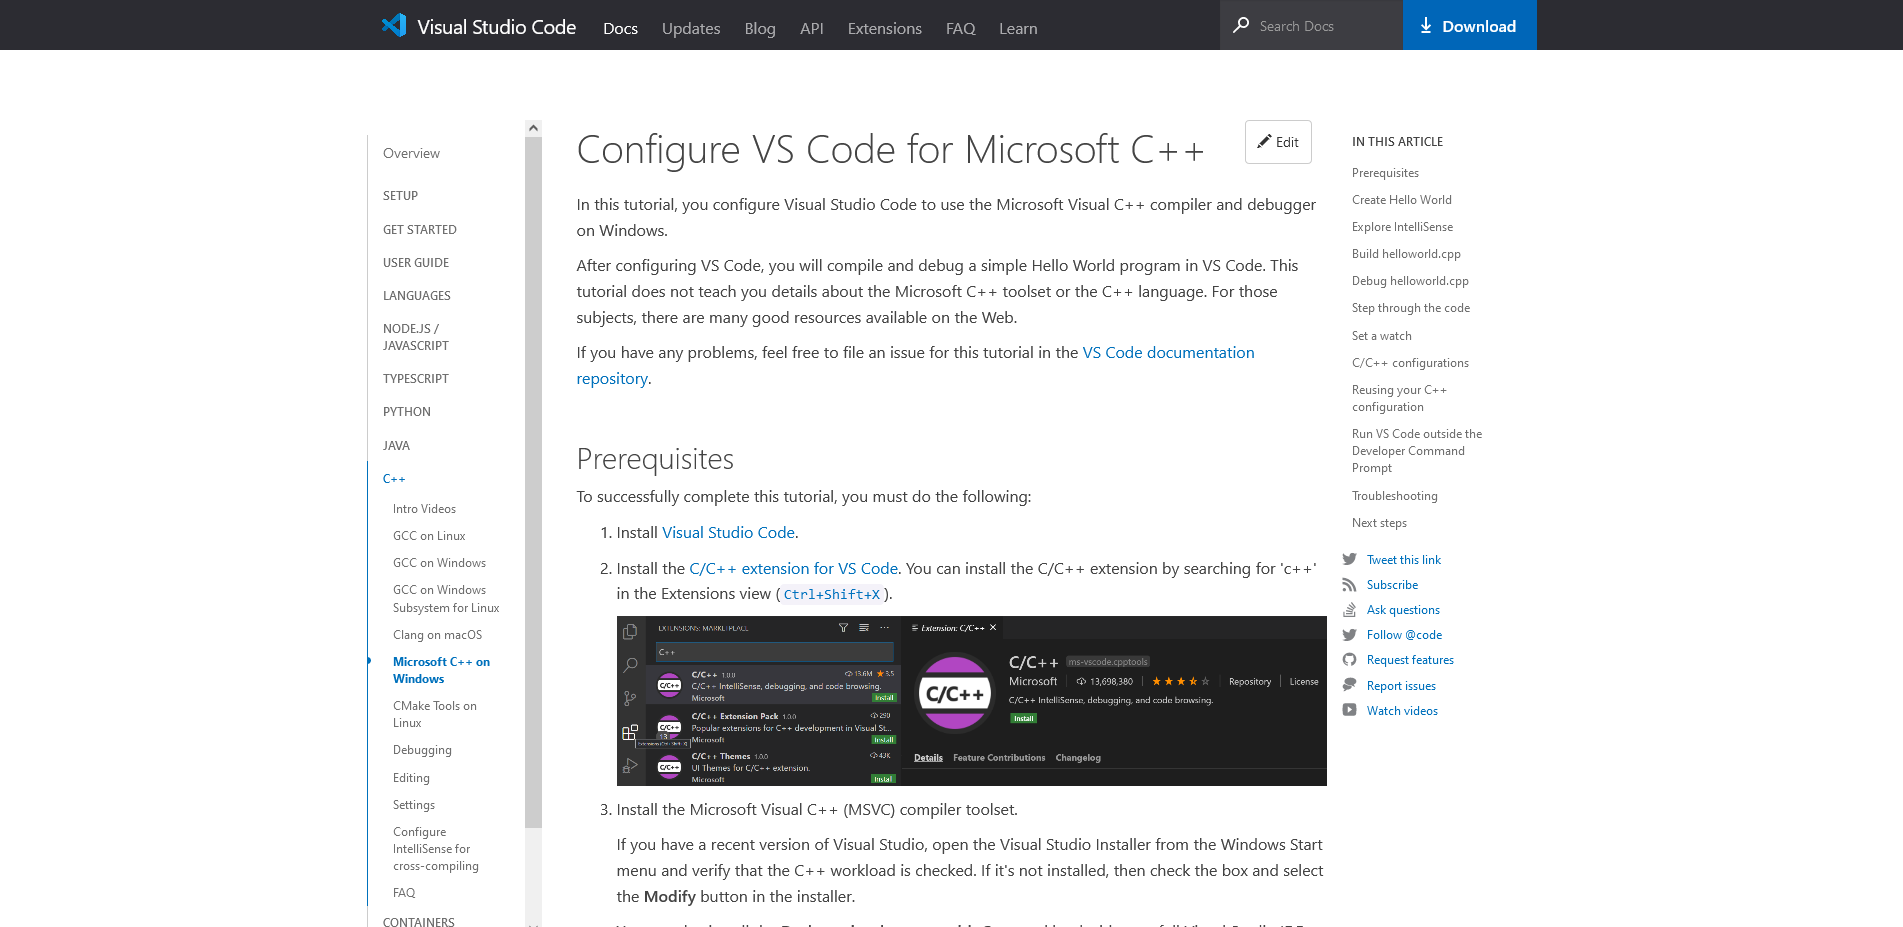
Fortunately, after struggling with the editor and the compiler for a whole morning, I ultimately grasp the key to make it. Here I’m presenting the detailed configuration procedure with Visual Studio 2019 (or the toolset of Visual Studio 2019).
In the first few steps, the tutorial gives us the correct guidance, until step Build helloworld.cpp.
The actual approach to configure Windows C++ (MSVC)
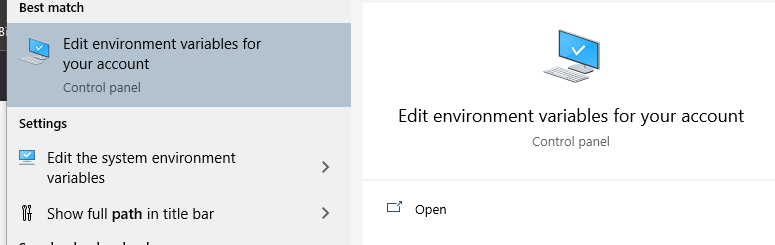
The configuration of environment variables comes first. Search path in the search box in your task bar and open Edit environment variables for your account.
In the settings window, select Path and then click Edit…. Then in the pop-up window click New to add this value:
| |
Repeat this step to add another value:
| |
Just like this:
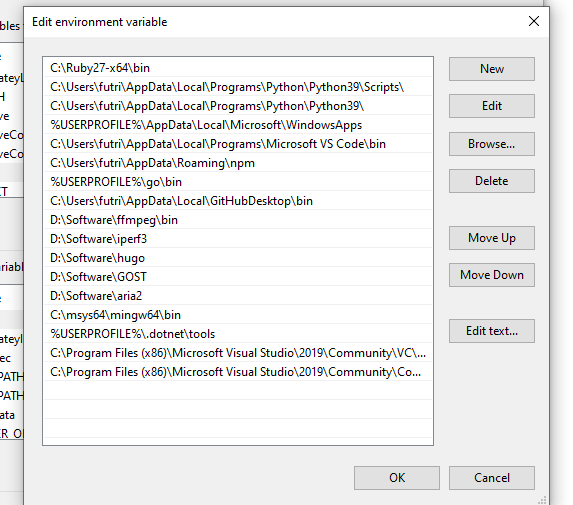
Click OK and then click OK again. Restart your Visual Studio Code.
From the main menu, choose Termial > Configure Default Build Task, then choose C/C++: cl.exe build active file listed in the dropdown. This will create a tasks.json file in .vscode folder in the root of your project folder. Open it in the editor, replacing all content with belows and save it:
| |
Then return to your C source file, press Ctrl + Shift + B, and the program will be compiled.
There is a bit difference between my sample and the offical example of running VS Code outside the Developer Command Prompt: the second argument of windows.options.shell.args is no longer a full path. That’s all due to a strange bug making the editor always to consider C:/Program a command.
The next thing to do is debugging. Press F5 or Ctrl + F5 and the editor will prompt a dropdown menu. Select cl.exe build and debug active file in it.

VS Code will create a launch.json in the identical folder .vscode. Open it and replace all the content with belows and save:
| |
Then try to press F5 or Ctrl + F5, and you will be in the debugging mode with pleasure. Now you can breathe a sigh of relief and enjoy a cup of coffee.
What’s more, in the official tutorial exists a more recommended method of simple C/C++ code building using GCC via mingw-w64. I’ve attempted to set it but failed, though. That’s another story.