
There are already a variety of blogging platforms, software and systems created by developers around the world. Most of them, though, are either hard to construct or a lack of essential functions. In this blog, I would recommend you a kind of solutions balancing functionality and usability, which is blogging with static site generator and deploying with site hosting service.
A representative of these solutions is to blog with Hugo and to deploy on GitHub Pages. Here I’m introducing how to start blogging with Hugo and GitHub Pages step by step.
Create An GitHub Repository for Storage
Note that GitHub Pages is just a deployment service, storage service not included. Hence it relies on a GitHub repository for storing the page source.
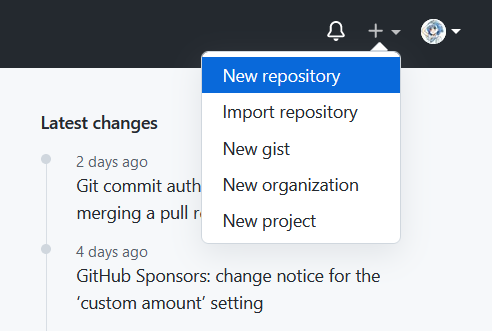
Login or sign up on GitHub, then create a new repository.
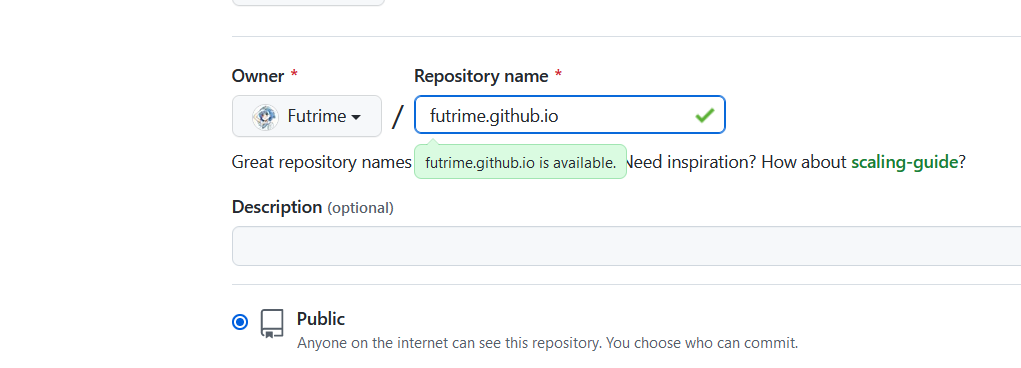
If you would just like to use the whole <your_name>.github.io domain as your blog, you should set the repository name to <your_name>.github.io, where <your_name> is the personal space name (as you can access your space via https://github.com/<your_name>). Meanwhile, you ought to set the repository accessibility to Public. Then click Create repository to create the repository.
Add Some Pages
Now that you have create the repository, it’s time to add some pages to it. Just add index.md to your repository on GitHub and type # Hello World in the file, and then save the file.
Enable GitHub Pages
Go to Settings -> Pages. Adjust the branch selection from None to main, and set the folder to / (root). Click Save.
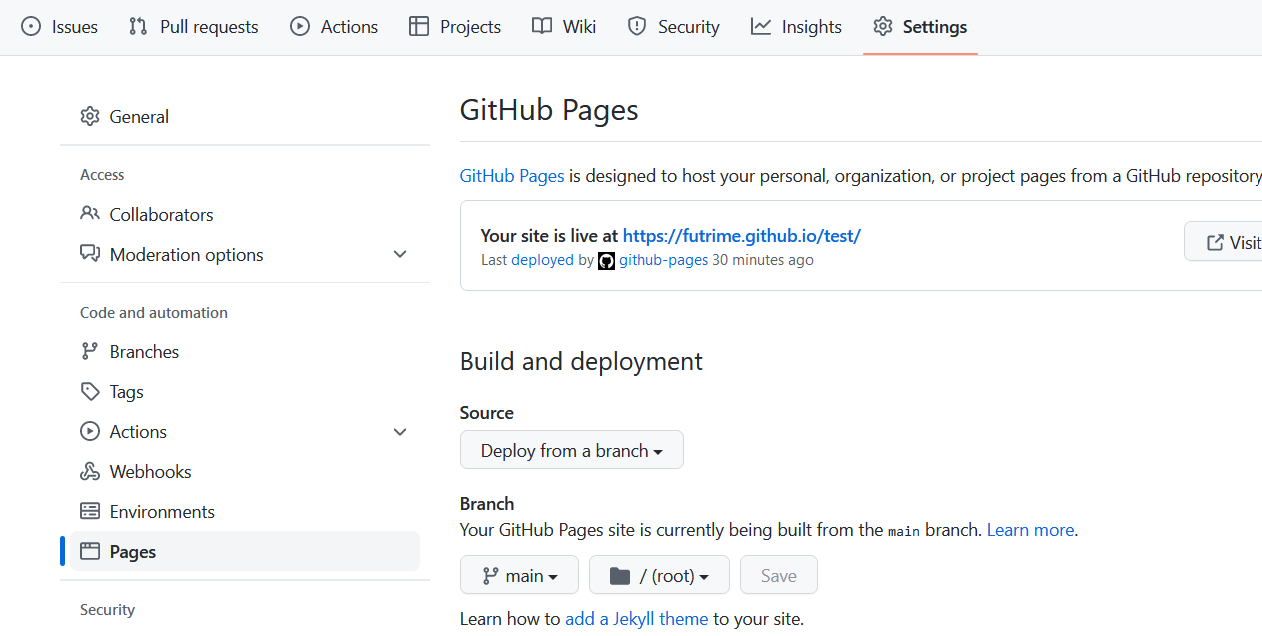
Wait, and refresh from time to time until the text Your site is live at https://<your_name>.github.io/ is shown. Click the URL and you would see Hello World on the page.
Get Hugo Involved
Without static site generators like Hugo, the pages will never be beautiful enough for a blog. Let’s start to get Hugo involved.
Clone the repository to your local computer, and install Hugo referring to the official instructions. For Windows users, directly using the binaries is recommended. Note that you should add the path of hugo.exe to environment variable PATH to make hugo command work. If you would like to use some fancy third-party themes, please download the release with extended in its name.
Open the terminal in the directory of your repository, remove all files, and run hugo new site . --force. This command initializes the current directory as a Hugo project. The --force tag is required because the directory is not empty.
Then you need to add a theme to your blog. For beginners, using the official theme Ananke is a good choice. Run git submodule add https://github.com/theNewDynamic/gohugo-theme-ananke.git themes/ananke to install the theme.
Then modify the config.toml, replacing all texts with belows. You can adapt the texts to your information.
| |
Then run hugo server and open http://localhost:1313 in your browser, you will see the site.
Add Some Pages
Add some pages again, right?
But this time it’s a bit different. You should run hugo new posts/my-first-blog.md to create. Then edit the article in content/posts/my-first-blog.md. You should set the title, and set draft to false like belows, and add content.
| |
Configure GitHub Actions
It’s disturbing to always buiding the site on our own computer and pushing to GitHub. Therefore, it is necessary to make the procedure automatic.
You can simply put the content below in .github/workflow/build.yml. You may need to create the directories to store the file.
| |
Stash all changes, commit, and push.
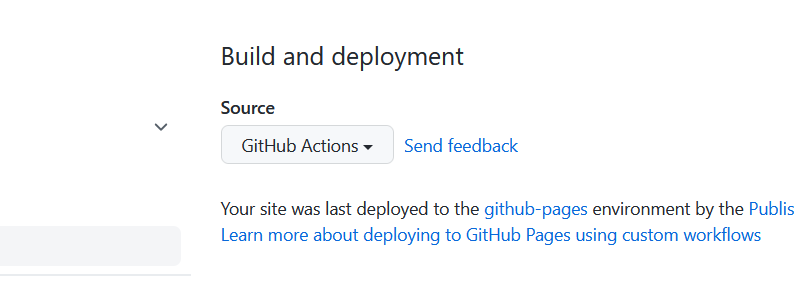
On GitHub, open Settings -> Pages, switch the Source from Deploy from a branch to GitHub Actions.
Open Actions, wait until the signal of latest job turns green. Visit your website.
If your website haven’t changed, you should manually run the workflow again.
Now you’ve mastered blogging with Hugo and GitHub Pages. Just create more pages with hugo new command and enjoy writing!