最近学校开设了计算机语言和程序设计课,标准使用的环境是Visual Studio。但是我只是想做个作业,没必要大费周章在Visual Studio中创建项目来写一个C语言的单文件程序。所以,这时我就想到了使用Visual Studio Code。本文以Visual Studio 2019为例,介绍VSCode配置MSVC编译环境的方法。
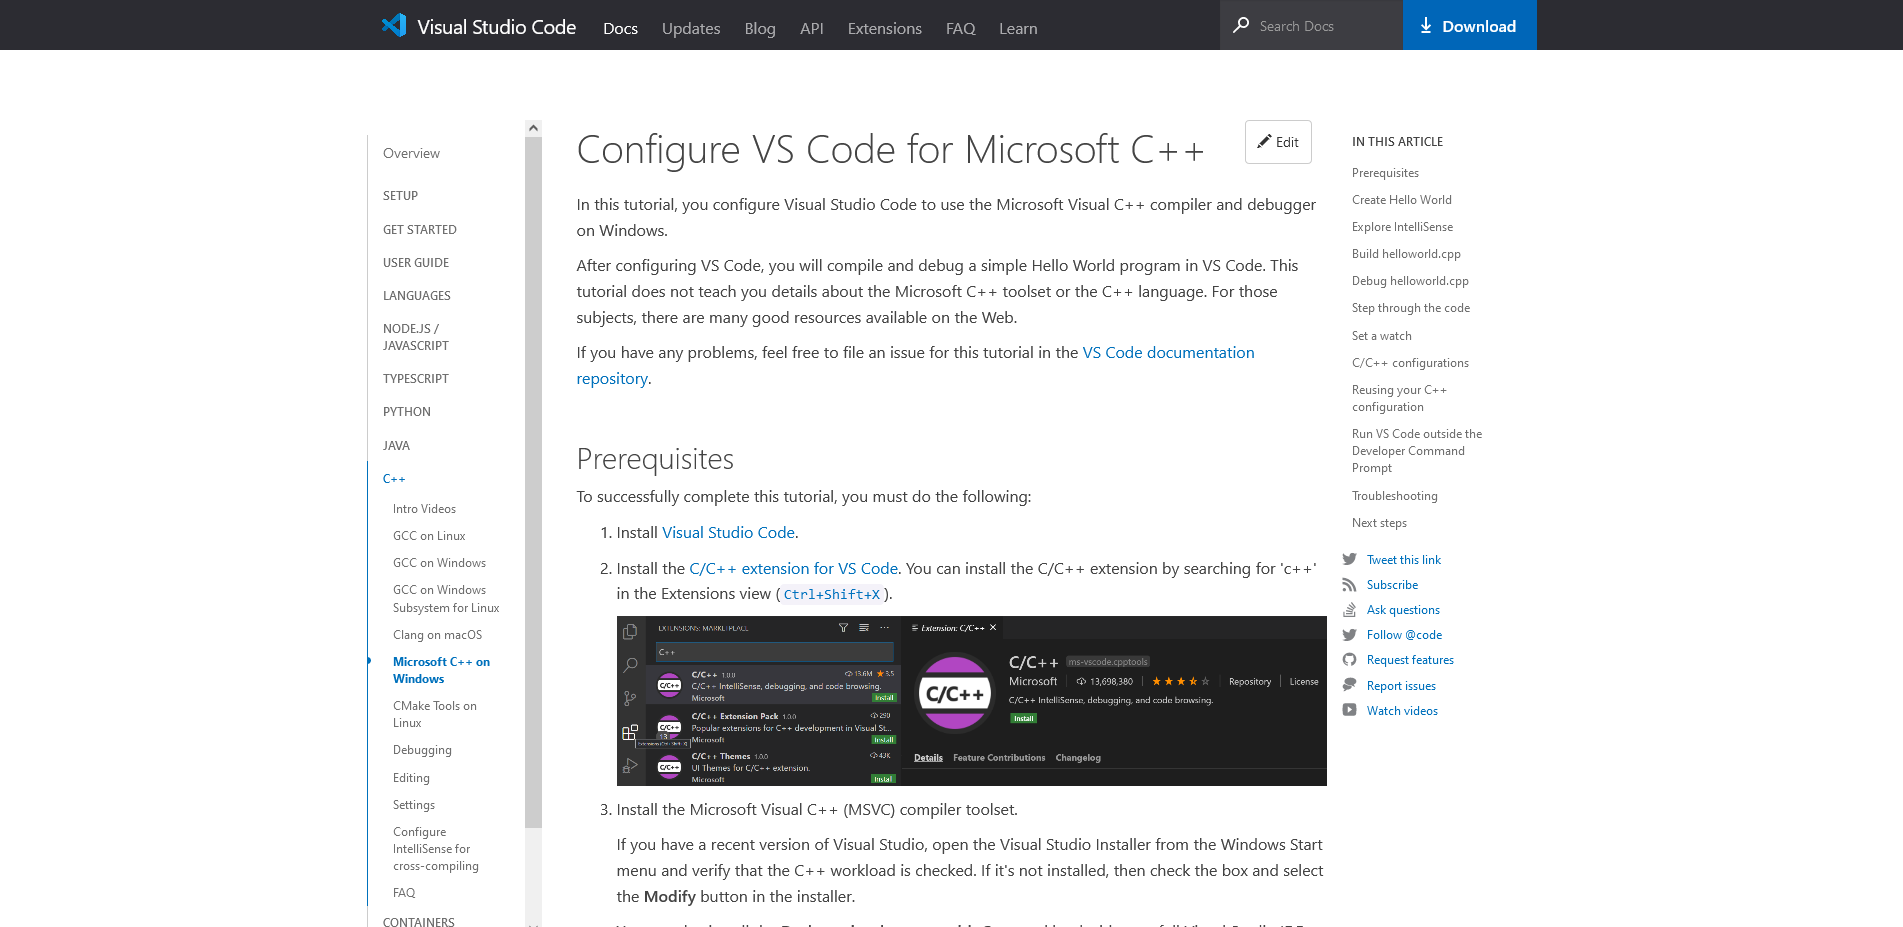
Microsoft官方给出了Visual Studio Code搭配MSVC的教程。在前面的几步中,我们可以跟着教程走。
安装MSVC
- 安装Visual Studio Code,这里就不介绍了。
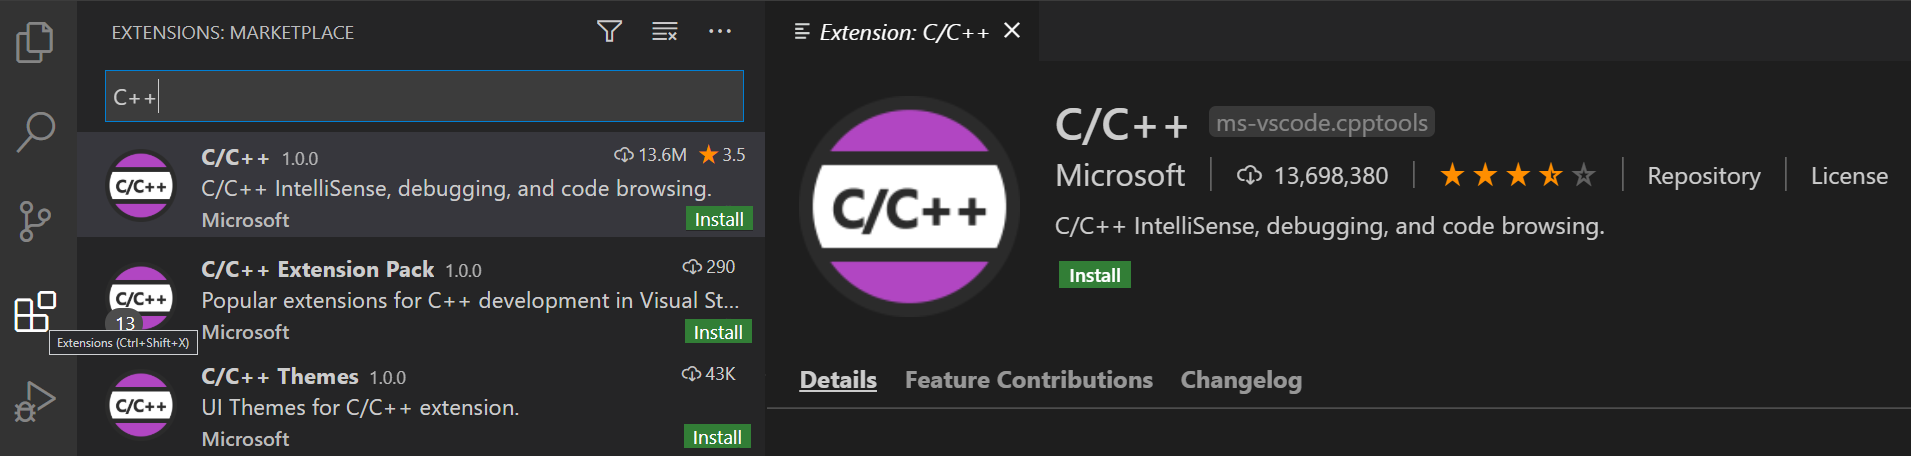
- 安装Visual Studio Code的C/C++拓展,如果这个链接打不开,可以直接在Visual Studio Code的左侧菜单栏选择拓展,在弹出菜单中搜索C/C++,如下图所示: ![C/C++拓展]https://i.loli.net/2021/09/27/WPsVbNC2qUyOwHG.png
- 安装MSVC编译工具。
- 如果已经安装了Visual Studio,那么就打开Visual Studio Installer,点击修改,查看有没有勾选使用C++的桌面开发。如果有就说明环境已经安装成功,如果没有就勾选并安装。
- 如果还没有安装Visual Studio或者不打算安装如此大的一个程序,则可以只安装Visual Studio 生成工具,同样勾选使用C++的桌面开发并安装即可。
配置C++编译和调试
接下来,文档会告诉你,请使用Developer Command Prompt for VS 2019进入项目,然后输入code .来打开项目。但是这实在是太麻烦了,毕竟命令行默认打开的路径是用户文件夹,如果我的作业文件夹放的比较深,那每次都要花费不少时间打开。Microsoft也考虑到了这一点,于是乎,它很贴心地给了个Note:
Note: If for some reason you can’t run VS Code from a Developer Command Prompt, you can find a workaround for building C++ projects with VS Code in Run VS Code outside a Developer Command Prompt.
其中的Run VS Code outside a Developer Command Prompt给出了修改tasks.json的教程。
但是,问题关键就在这里。tasks.json和launch.json到底是什么先按下不表,但是如果你真的按照这个教程来,你会发现编译器报出这样的错误:
‘C:/Program’ is not recognized as an internal or external command
很玄学。但是更加玄学的是,如果你将报错的地方整行命令复制出来在VSCode的终端输入运行,是可以正常运行的。虽然说每次手动编译一下也不是步行,但是太麻烦了,此外调试也是会失败的。
经过一个上午的摸索,我找到了配置方法,如下。
- 在PATH环境变量中添加以下两条:
| |
| |
- 选择终端下拉菜单最后一个选项配置默认构建任务,然后选择带有C/C++: cl.exe字样的选项。
- 选择运行下拉菜单中的添加配置选项,然后选择带有cl.exe字样的选项
- 这是最关键的一步,打开项目文件夹下
.vscode文件夹中的tasks.json,改成以下内容:
| |
- 这也是关键的一步,打开项目文件夹下
.vscode文件夹中的launch.json,改成以下内容:
| |
做完上述配置,就可以开心地编译和调试了。但是这个方法也有一个Bug,那就是按下F5或者Ctrl + F5的时候就不会自动编译了,只能手动按下Ctrl + Shift + B先编译。
至于你问我为什么不使用mingw-w64?这个嘛,遇到了另外的问题,有空再聊聊。